The Leak: In June of 2022, Philadelphia homeowner Erica discovered multiple leaks throughout the third floor of her newly constructed home. Water damaged the ceilings above the landing, in the bathroom, and above the staircase. It also began leaking into her bathroom walls.
The Detection: Our leak detection team began diagnosing the causes behind Erica’s widespread leak problem. From the beginning, we could tell that her fiberglass roof was behind most of the problems as it was poorly constructed.
The Repair: Erica’s leaks needed individual attention in order to properly waterproof her home. Our team repaired each of the leaks and helped reconstruct the fiberglass structures to reduce the risk of them separating again in the future.
In 2022, Erica had been enjoying her newly built home when she discovered water leaks on her third floor. They weren’t just in one area either, but all over. How could this happen to a new home? These looked like problems that happen when your roof gives out due to old age. To start, Erica tried to cover the leaks and use DIY methods. When those fell through, she gave us a call.
At any sign of water damage, it’s important to get a professional involved to prevent further damage. We offer a free consultation to give you full control of what direction you want to take while getting insight into the potential cause of your leak.
When we arrived at Erica’s home, our team discovered that the fiberglass roofing structure was not built with the highest level of care. The fiberglass was only a thin layer on the roof, and there were many areas where the plywood below was visible. In addition to the roof, we also found poor construction work around the windows, doors, and penetration points for the vent pipes. Without much protection, rainwater could easily break through and enter Erica’s home.
We constructed a thorough leak report, breaking down the exact causes of the three leaks. After going over the leak report with Erica, we discussed the best solutions to help make her home what it should have been in the first place.
Inspecting the leaks
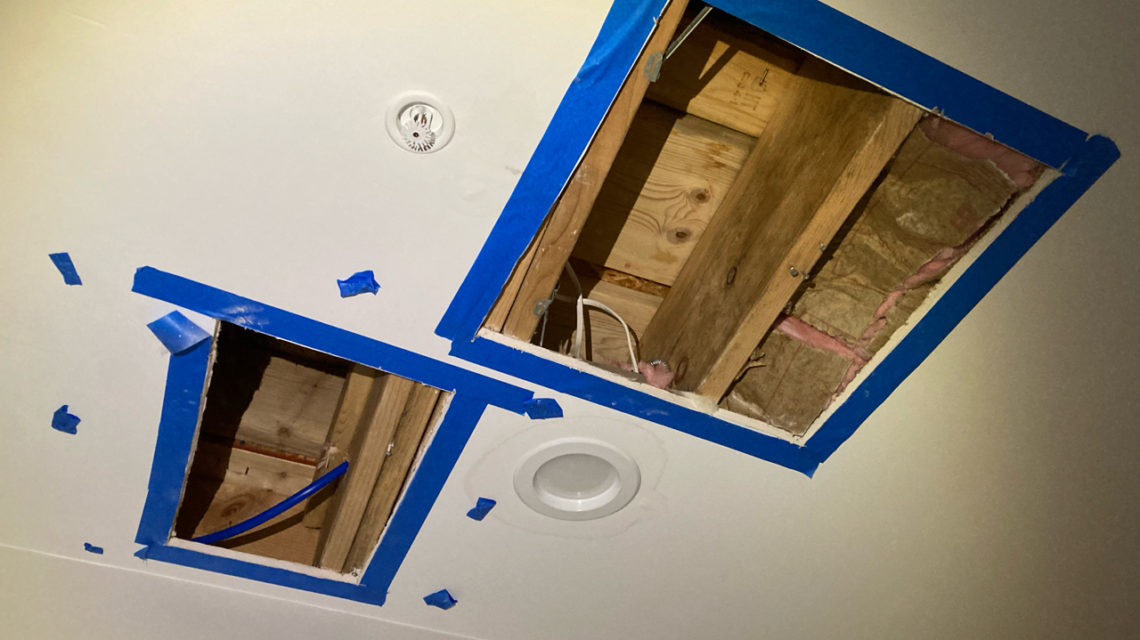
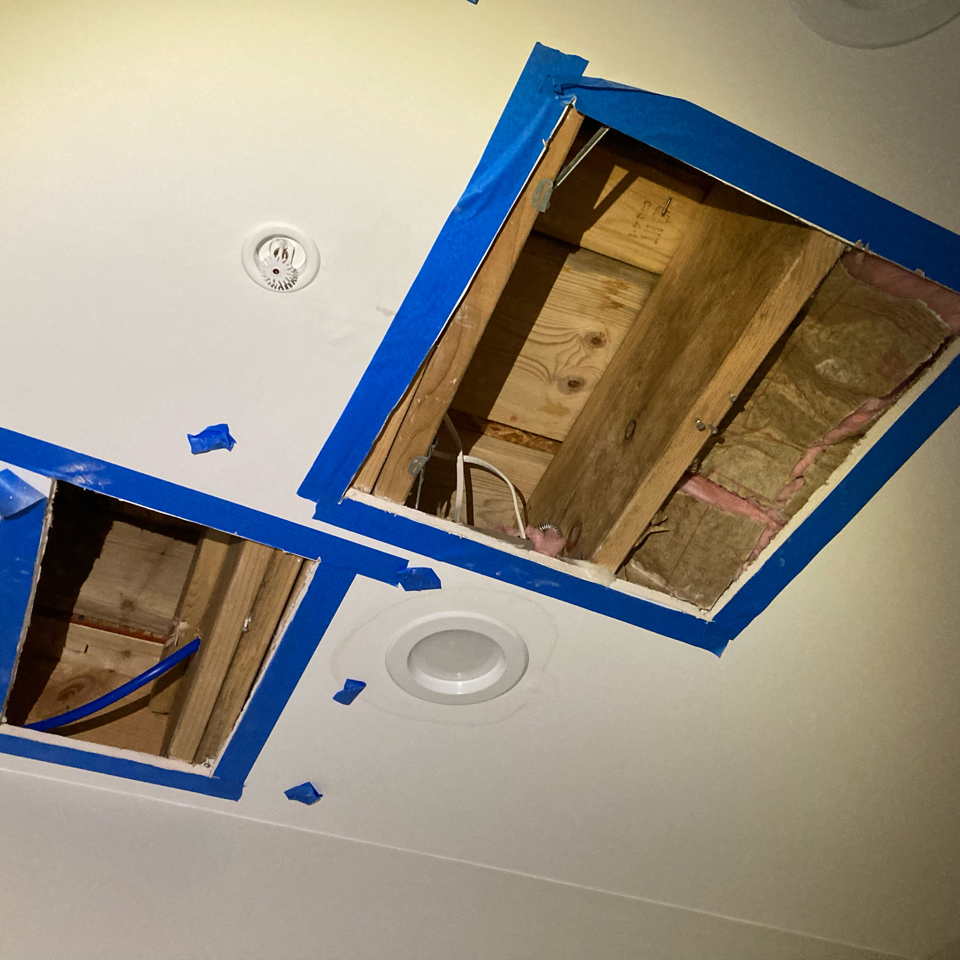
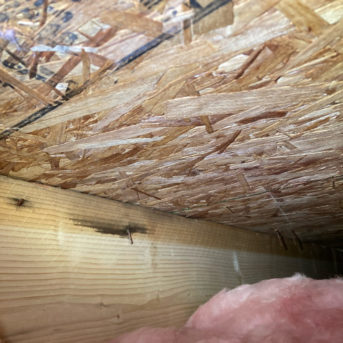
The first leak we inspected was above the third-floor landing. We began by cutting a hole in the ceiling to get an in-depth look at what was happening between the ceiling and the roof. We discovered damage to the insulation and water stains on the wooden joists above. The pilot house door, window, parapet wall capping, and siding all provided entry points for the rainwater.
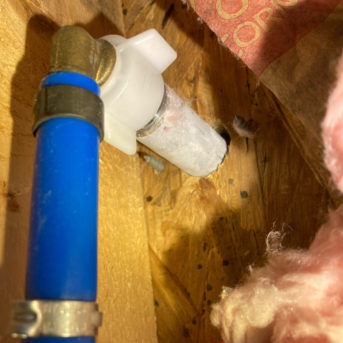
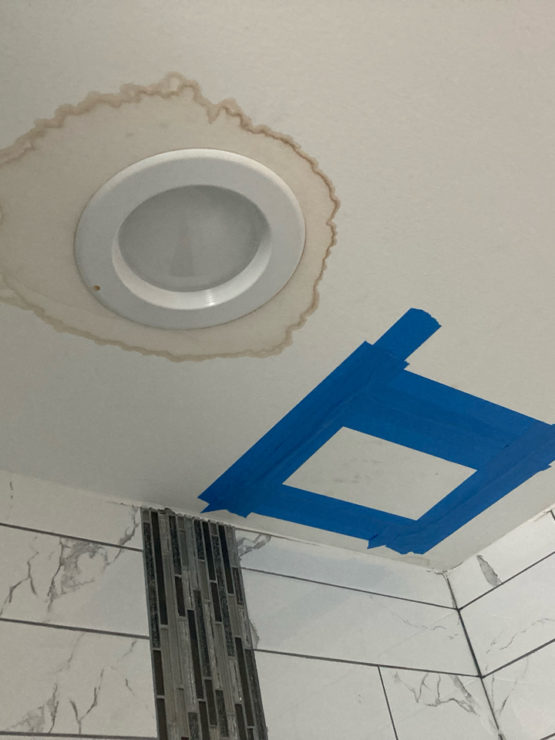
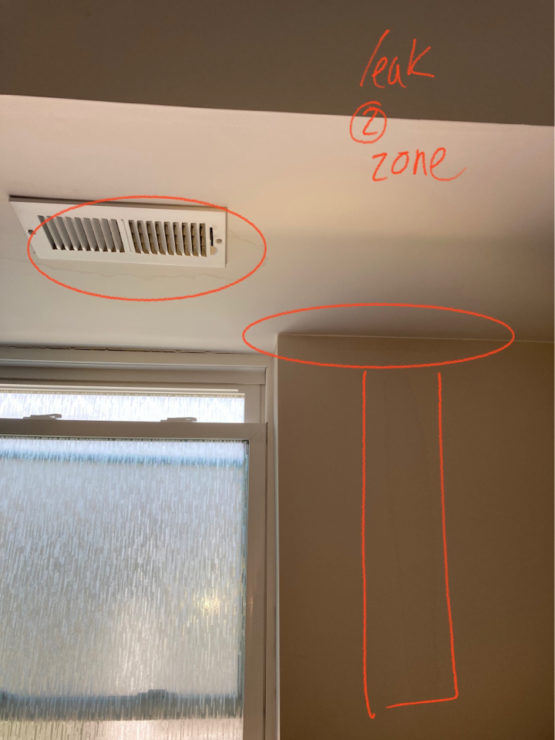
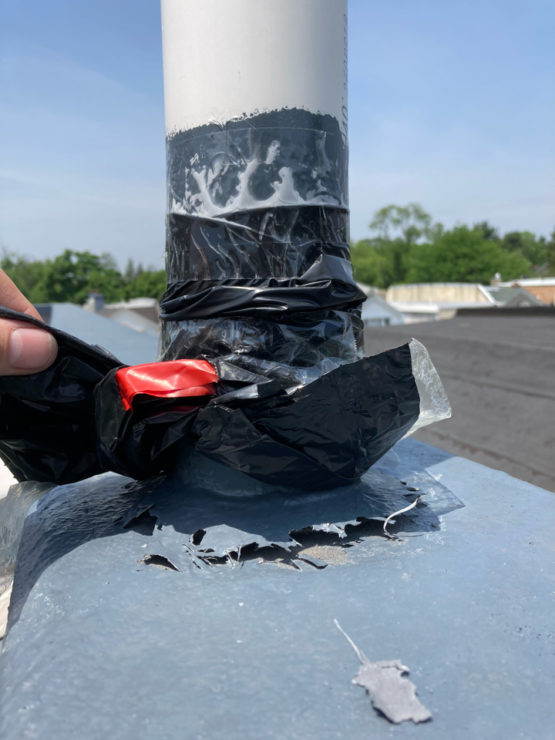
Next, we inspected the second leak, located inside the bathroom. We discovered water stains on the ceiling and walls and water dripping out of the vent. On the roof above the damaged areas, we found a PVC pipe vent with fiberglass separation. The separation allowed water to drip directly into the bathroom ceiling. While the PVC pipe caused the majority of the damage, we also found a crack in the fiberglass roof membrane, hidden underneath the rug.
The final leak was above the ceiling of the stairwell in the pilot house. In the roof above the ceiling, we found gaps and deterioration in the roof’s membrane.
These leaks needed individual care to fix, but were all connected to the overall issue: poor construction of the new house. While the leaks came from multiple sources, the repairs were fairly straightforward.
We communicated our potential plans with Erica, who gave us the go-ahead to begin repairs. She also told us we had support from her toddler, saying “He keeps talking about you all…if he sees any sort of paint bubble or chip in a wall, he says, ‘Dr. Leaky going to fix it’ or ‘Dr. Leaky coming to fix the hole.’” With his encouragement, we happily got to work.
Solving the multi-leak madness
To solve each leak, we created individualized solutions to waterproof Erica’s home.
To begin fixing the first leak, we removed the door, jamb, window, siding, and accompanying trims. At the doorway and the window, we ensured the openings had waterproof tape and that the vapor barriers were laid correctly. We also fabricated and installed a doorsill pan, windowsill pan, and storm door to seal the area. Finally, we secured the areas with metal flashing placed over the window and at the intersections of the parapet wall cap and pilot house wall. After sealing the areas, we reinstalled the doors, window, siding, and accompanying trims.
For the bathroom leak, we needed to repair the PVC pipe on the roof. We began by reducing the height of the pipe to strengthen it against the wind. This created less risk of future fiberglass separation. Next, we began repairing the PVC pipe’s base, and the vertical cracks on the inside and outside edge of the parapet wall cap. Finally, we added an EPDM rubber membrane patch to the cracked fiberglass under the rug.
Lastly, we went to work on the final leak above the stairwell. Luckily, this space only required an EPDM membrane patch and gray silicone sealer on the pilot house roof membrane. For the first time since it was built, Erica now had a waterproof home.
Leak testing and cosmetic repairs
Before we perform any cosmetic work, we want to ensure our repairs are solid. The best stress test comes from the source that started it: mother nature. After a few weeks of rainstorms, we received an excited message from Erica: “NO MORE LEAKS!!! We’ve been through enough rain now that I’m 99% sure everything worked.”
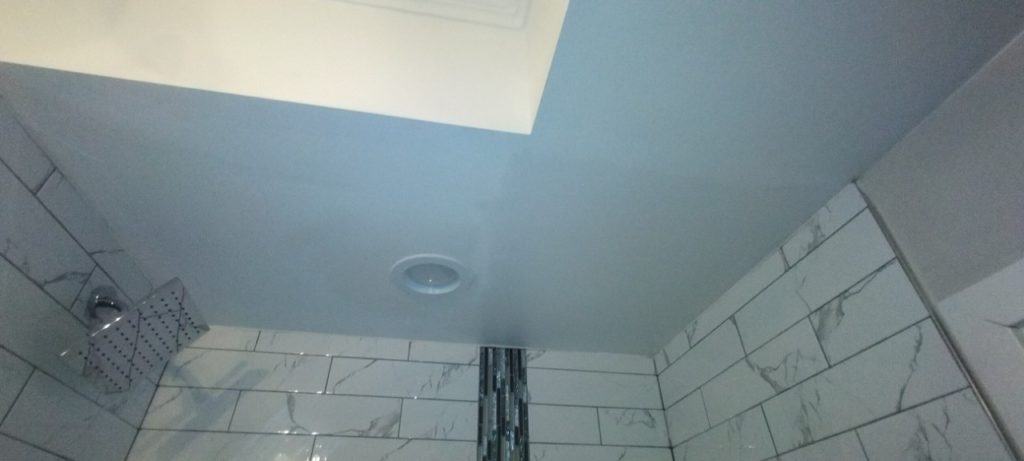
On Erica’s cue, our cosmetic repair team made a plan with one goal in mind: making the house like new again. We began by taping and plastering the seams of the ceiling panels in both the second-floor hallway and the bathroom. The largest repair, however, was in the hallway. We needed to replace the drywall of the entire ceiling, along with taping, plastering, and caulking. After everything dried, our team repainted each area and reinstalled the ceiling lights.
With over 40 hours of work put into Erica’s house, we finally had it back and better than ever. In newly built homes like this one, a fiberglass roof is often an inexpensive option, but when not installed with care, it may not be strong enough. This can cause leaks like these to break through over time. Luckily, we were able to fix the problem areas, so Erica and her family could finally enjoy their new home — leak free.